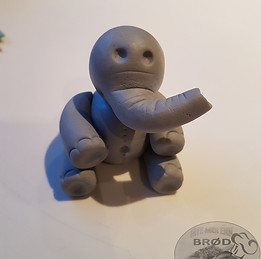
FONDANT ELEPHANT STEP BY STEP
Do you want to learn how to make a fondant elephant to decorate your cakes?
Animals made with fontant are cute and quite popular nowadays. Very much used in baptism cakes, babyshower cakes and 1st aniversary cakes. To make animals in fondant is easier than you think. Here we show you how to make an elephant.
- White fondant (you can also buy ready colored fondant, in that case you don't need the pasta colors specified under)
- Black pasta color
- Blue pasta color
- Reddish pulver color
- CMC (just if you want your figure to dry faster)
- Rolling pin
- Ball tool (fondant)
- A shart fondant tool (or a knife)
- Wheel tool (fondant)
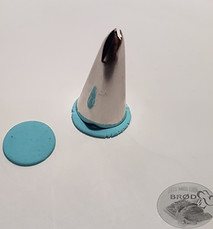
- A tool that allows us to cut circles in different sizes (we used the tips normally used in piping bags)
This is what you need:
Directions:
First thing to do is to color the fondant and divide it to the different body parts.
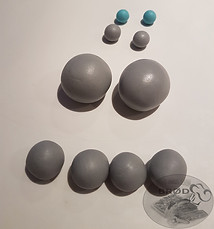
We start with the grey fondant: we make 4 balls of about 1.5 cm of diameter, these will be used for legs and arms. Then two big balls of about 3-3.5 cm of diameter for the body and the head, and two small balls (of about 8 mm in diameter) for the ears. Then we make 2 small balls with blue fondant (of approximately 4 mm of diameter).
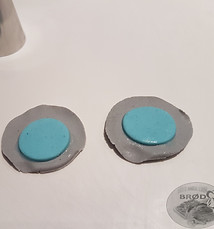
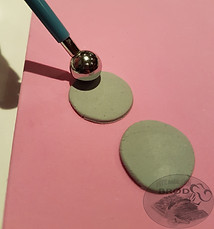
We start making the ears, doing it that way they will get some time to get dry while doing the rest of the elephant. We roll the small blue balls and cut 2 circles (don't roll them too thin). We do the same with the smallest of the grey balls, those will be flatten a bit at the edge, take the ball tool to do it.
Brush the back side of the blue circles with a bit of water and attach them to the grey circles, then cut a bit like shown in the picture.

Now the only missing thing is to color a bit the cheeks with the reddish powder (if you like it). This is the result.

After that, we will start with the body, we take one of ther biggest grey balls and give it a egg shape. With the wheel tool we will make a line in the middle at one of the sides, if desired, mark the belly button with a small ball tool. To make the arms and the legs, we will make 4 cylinders that are a bit thinner on one of the sides., we will also mark the hooves, then we attach them to the body by using some sticks and edible glue.
Next step is to shape the head, we made the elephant's trunk and by using a shartp tool we make the mouth and with the ball tool we mark the space where we will place the eyes. We attach the head to the body with sticks and edible glue. Then we can attach the ears and we make to small black balls that will be the eyes, this will also be attached with edible glue.


